
Ruby Girls Cloud9 Sinatra Setup Guide
*Created by Sorcha Abel Follow @sabel25
Sign up for a Github account.
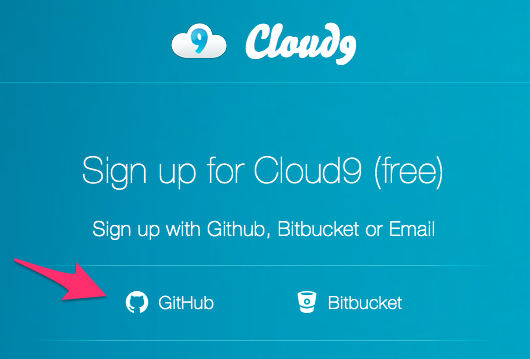
Then, go to the cloud9 website.
Click the signup button. Signup using the github account you just created.
Note the screenshots below were taken in December 2015. The website may have been updated since. Please ask an instructor if you are unsure.
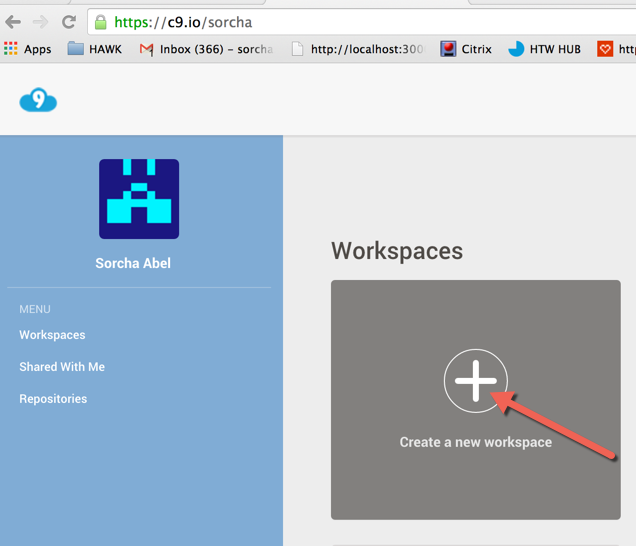
Once you have signed up, you will be shown your dashboard. Create a New workspace by clicking the plus icon.
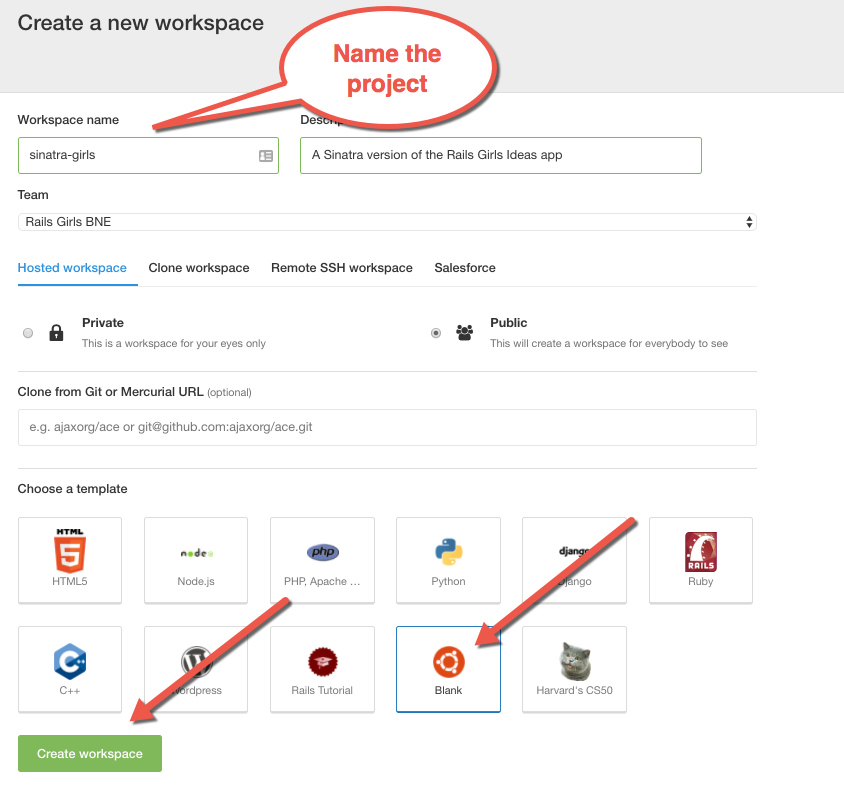
Name your new workspace sinatra-girls, and make sure you are creating a blank workspace. Then click ‘Create workspace’.
You will then be taken directly to your new workspace.
Workspace environment
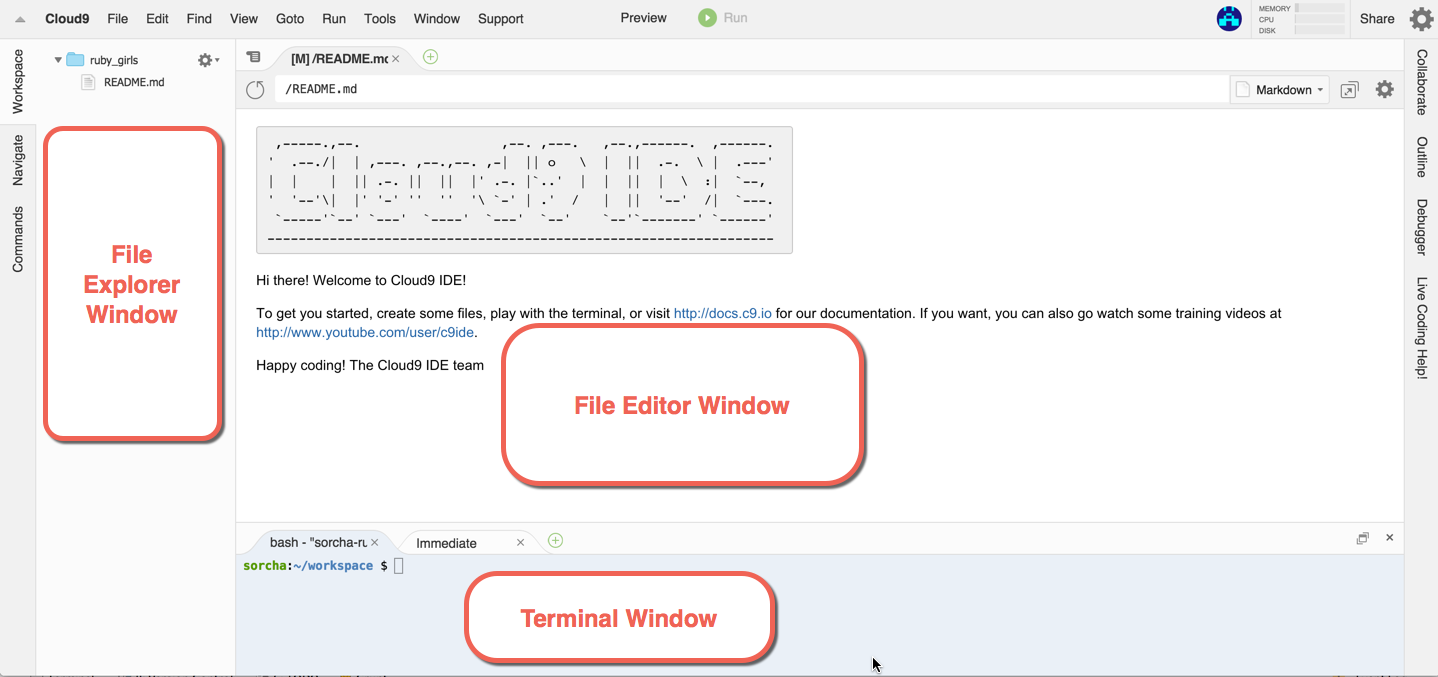
The workspace is made up of a few important areas.
- The file explorer and editor are where we will be spending a lot of time. Choose files to edit using the explorer. They will open in a new tab in the file editor.
- The Terminal is used to enter commands to our application.
Set up the text editor
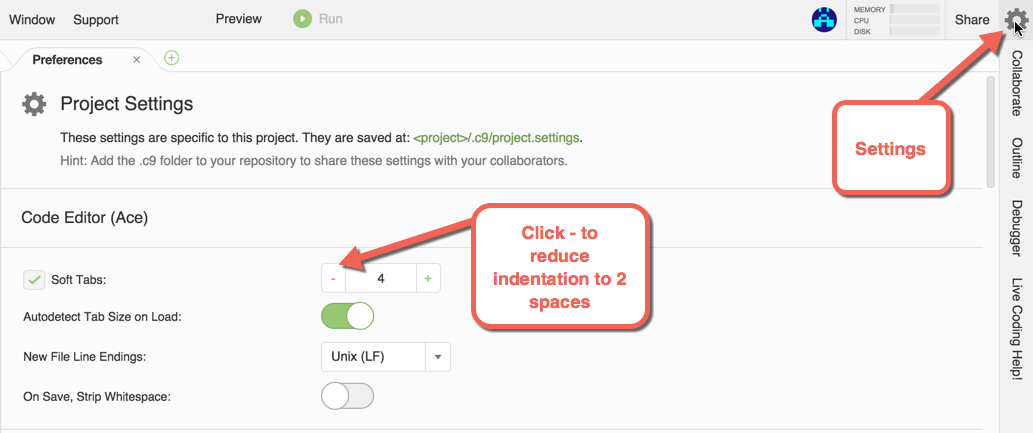
The Ruby global convention is to use 2 spaces for indentation. Lets change the default editor to use 2 spaces.
Click on the settings icon in the upper right side of the window. A preferences window will open edit the Soft Tabs setting to reduce it to 2.
Next Steps
You are now ready to start building your sinatra app but first a few tips.
- You must save your work each time you make edits. Do this by using either
file -> savefrom the menubar orctrl+s(Windows and Linux),command ⌘+s(Mac) - To stop the sinatra server use
ctrl+c - To run the sinatra server type the following into the terminal window.
ruby config/application.rb -p $PORT -o $IPThese will be covered in the next guide, click to open it sinatra app guide
Keep in touch
Follow us on twitter
Sorcha Follow @sabel25
Rachelle Follow @RachelleOnRails
Rails Girls Brisbane Follow @railsgirlsbne
Read the Rails Girls Brisbane blog http://railsgirlsbne.com/
Email us: Rails Girls Brisbane
Join our Facebook Group: Rails Girls BNE Group