
Rails Girls Cloud9 Setup Guide
*Created by Sorcha Abel Follow @sabel25
Sign up for a Github account and ensure you have verified your email address.
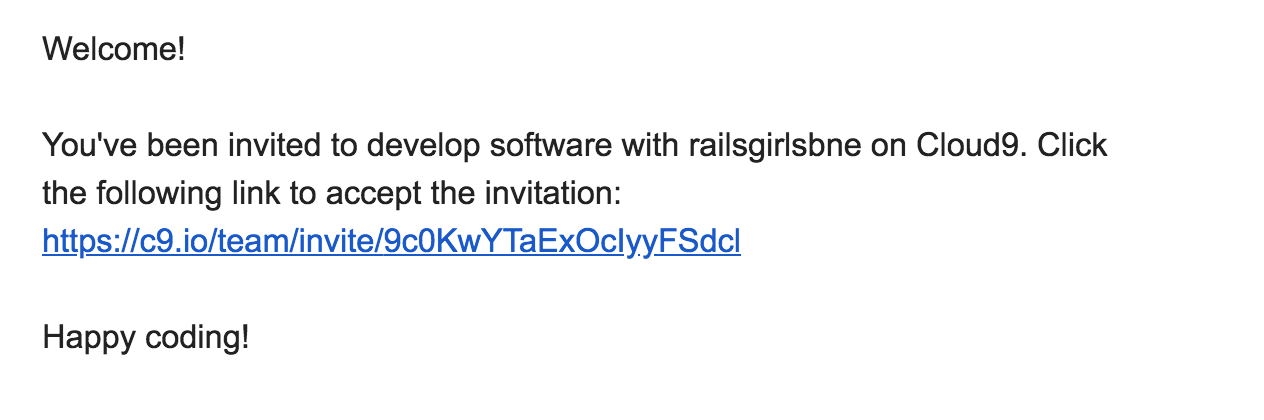
By now you should have received an email invite to use Cloud 9. The image below is a sample only :)
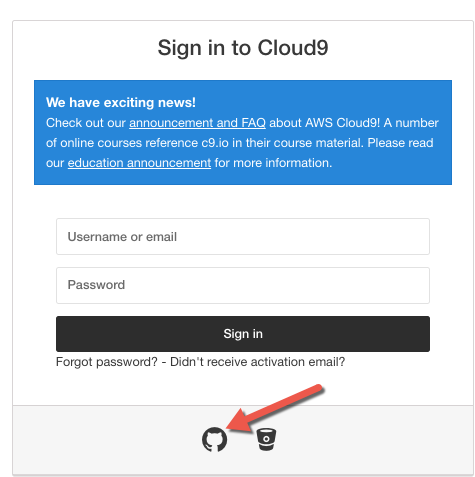
The link will take you to the Cloud 9 website, click on the Sign in button and then simply click on the github icon (see below) and from here you should use
your github credentials (created in the first step above) to login.
Ideally this is all you need to do, however at times Cloud9 can be temperamental :( If you cannot proceed to your team account you can follow these steps:
- Click on the team invite link once again that you have in your inbox.
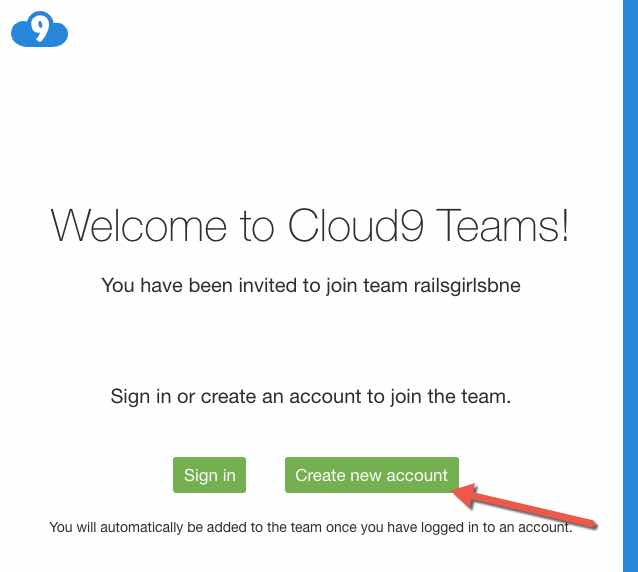
- Click on the
create new accountbutton (as below)
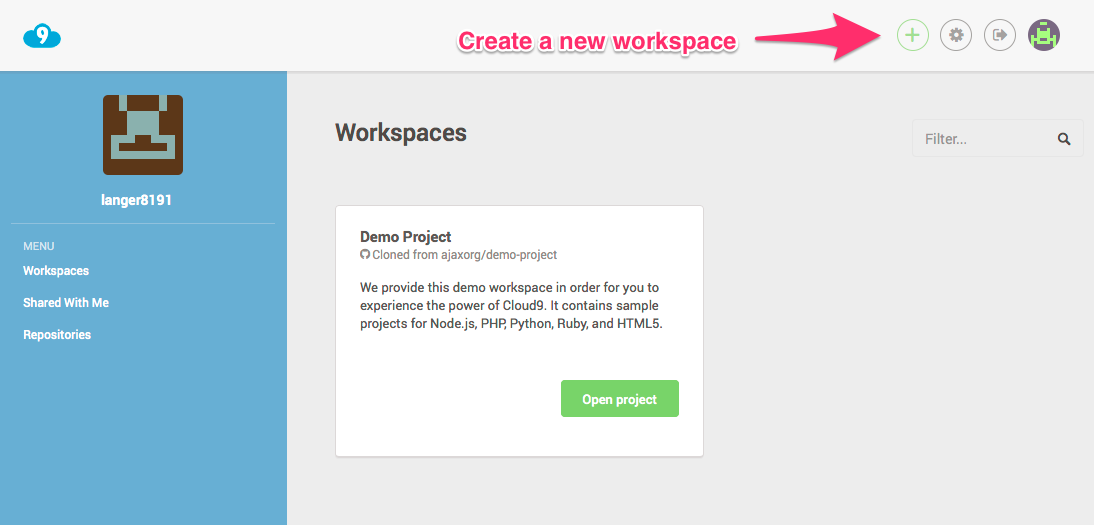
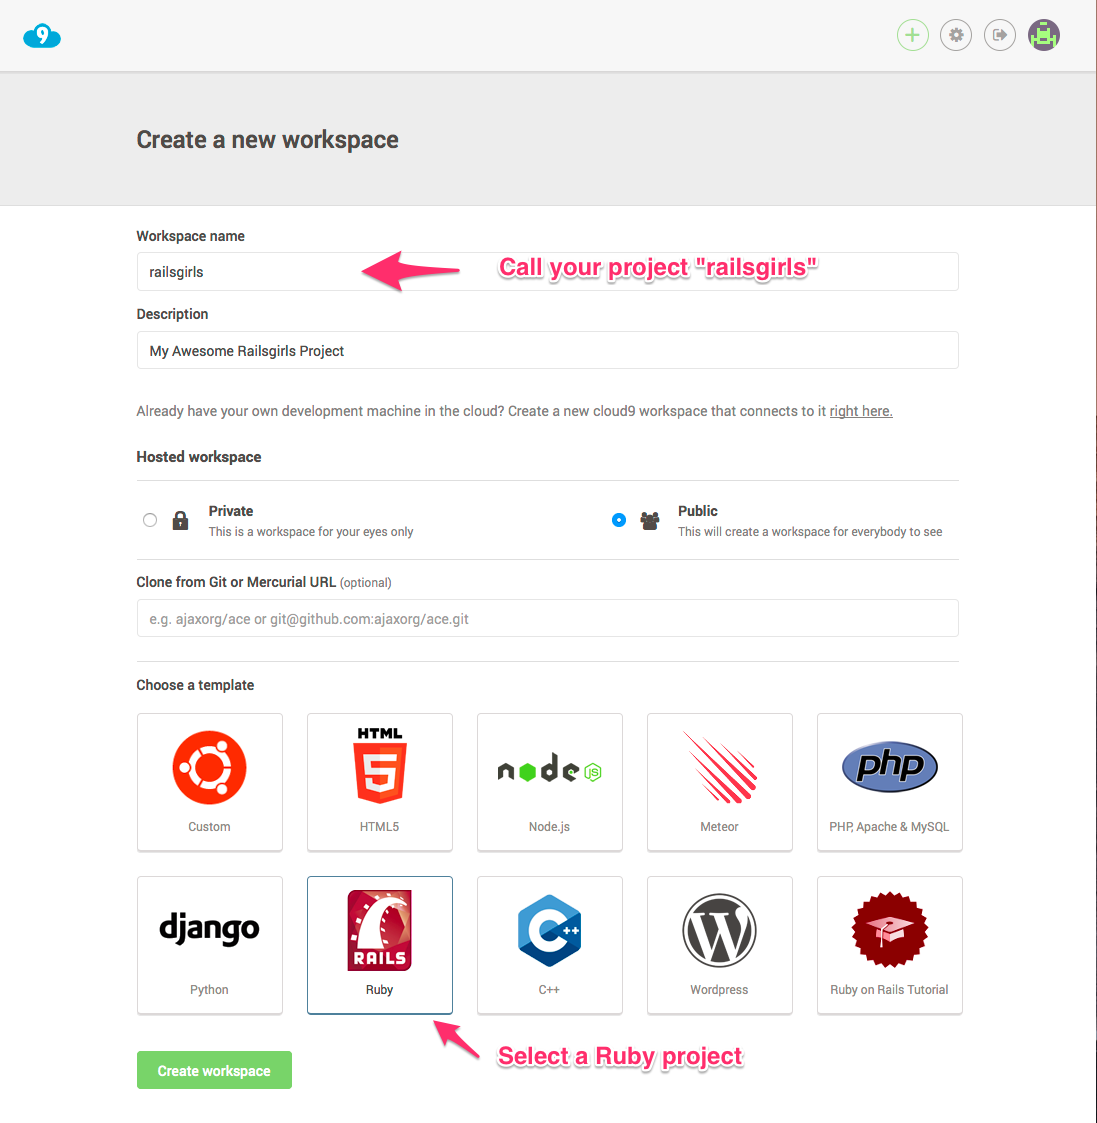
Once you have signed up, you will be shown your dashboard. Create a New workspace by clicking the green plus icon.
Name your new workspace railsgirls, and make sure you are creating a Ruby workspace. Then click ‘Create workspace’.
You will then be taken directly to your new workspace.
Upgrading to Rails Version 5
By default Cloud9 comes with rails version 4 installed. But there is a newer version of Rails available and at Rails Girls we like to stay ahead of the game. Lets upgrade our environment to Rails 5
These steps can be a little tricky so if you are unsure just ask a mentor for help. Lets get started
-
Ensure your cursor is in the bash window (also known as terminal window, see the screen shot below) and type
cd ..This command will ensure we are in the root of the project and not inside our workspace folder. This folder will contain our app but we don’t need to be in it to do our rails version install. -
When ready type
rvm use 2.4.0 -
When ready type
gem install rails -
When completed type
sudo apt-get updatethis will ensure we have the latest packages -
Next type
rails new rails5-projthis will be a temp project, we will remove it a bit later -
Then enter
mv workspace workspace.bckhere we are taking a backup of our workspace (its the workspace with the old version of Rails and we don’t really need it again but generally it’s safer to rename a directory than deleting especially when you are learning) -
Enter
mkdir workspacehere we are making a new workspace, this will be for our Rails 5 version. The Blog App that we are about to build will be contained within the workspace folder. If however you get a messagemkdir: cannot create directory ‘workspace’: File existsthen simply ignore and continue with the next step :) -
Enter
cd rails5-projthis will move you into the rails5-proj directory -
Then
cp -r * ../workspacehere we are simply copying everything into our new workspace directory (this is the Rails 5 one) -
Type
cd ..to simply move up one level in the directory structure and then typelsto see a list of the files in the current directory. It should be similar to this
-
You should see a folder called rails5-proj we are going to remove it now, simply type
rm -rf rails5-proj -
Finally move into the workspace folder so we can start building our Rails 5 app, type
cd workspace -
Let’s type
bundle installso we know all our gems are up to date (gems are basically libraries that contains pre-written code so that you don’t have to write it from scratch)
Workspace environment
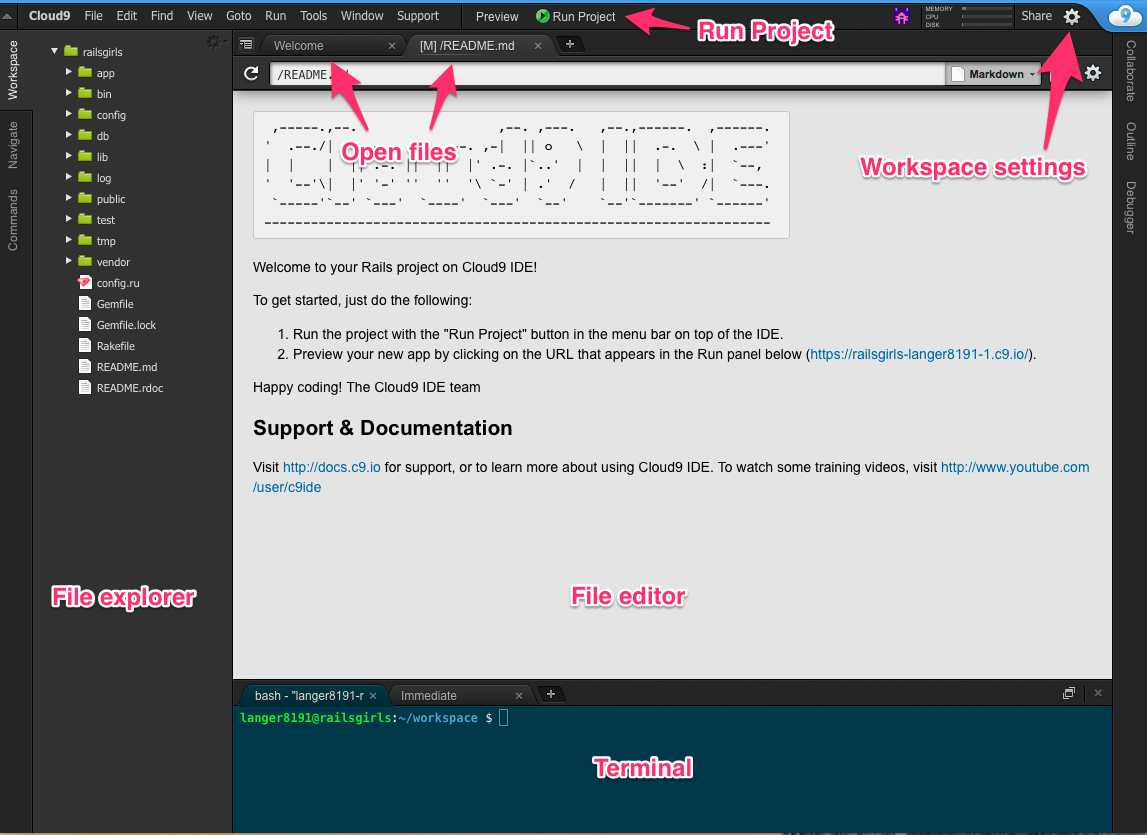
The workspace is made up of a few important areas.
- The file explorer and editor are where we will be spending a lot of time. Choose files to edit using the explorer. They will open in a new tab in the file editor.
- Run Project Button. We will use this to start and stop our Rails application.
- The Terminal is used to enter commands to our application.
Set up the text editor
The Ruby global convention is to use 2 spaces for indentation. Lets change the default editor to use 2 spaces.
Click on the settings icon in the upper right side of the window. A preferences window will open edit the Soft Tabs setting to reduce it to 2.

Viewing your project in the Browser
From the ruby-railsgirls terminal you need to start the rails server. Click the ‘Run Project’ button.

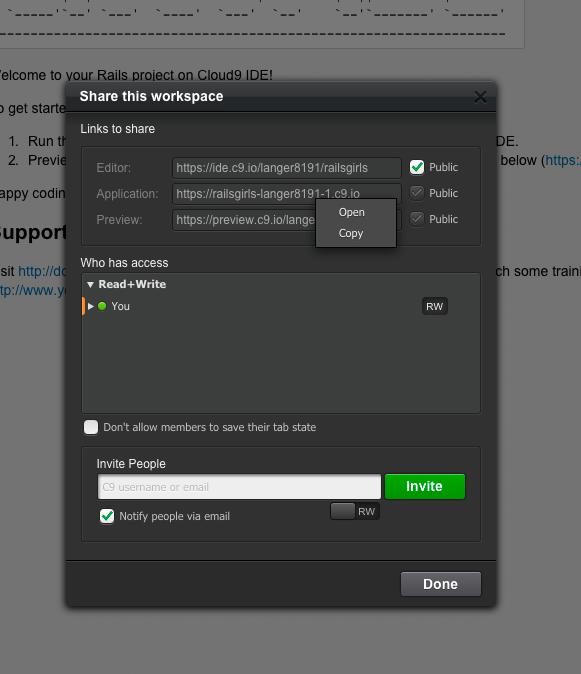
Click on the share button in the top right window. From the Share this workspace window click on the url in Application and select the open option
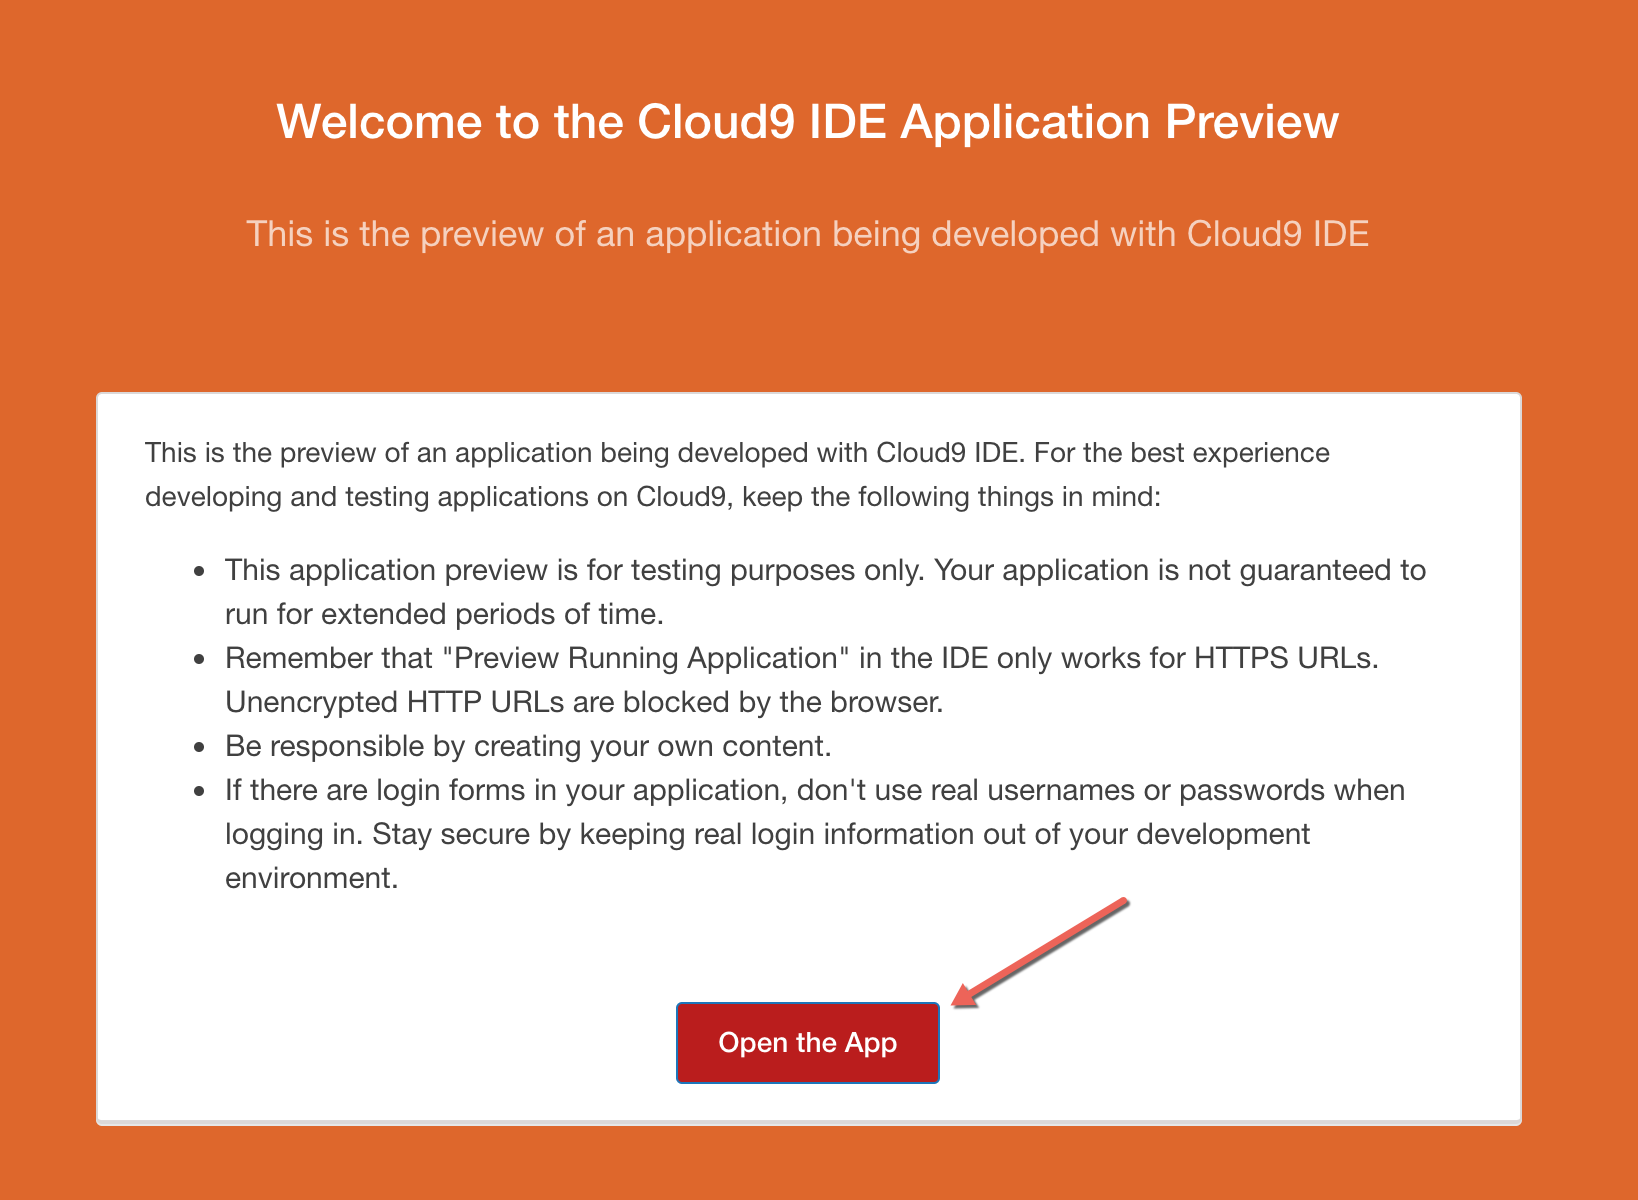
You may see the Cloud 9 preview page, if so click on the Open the App button
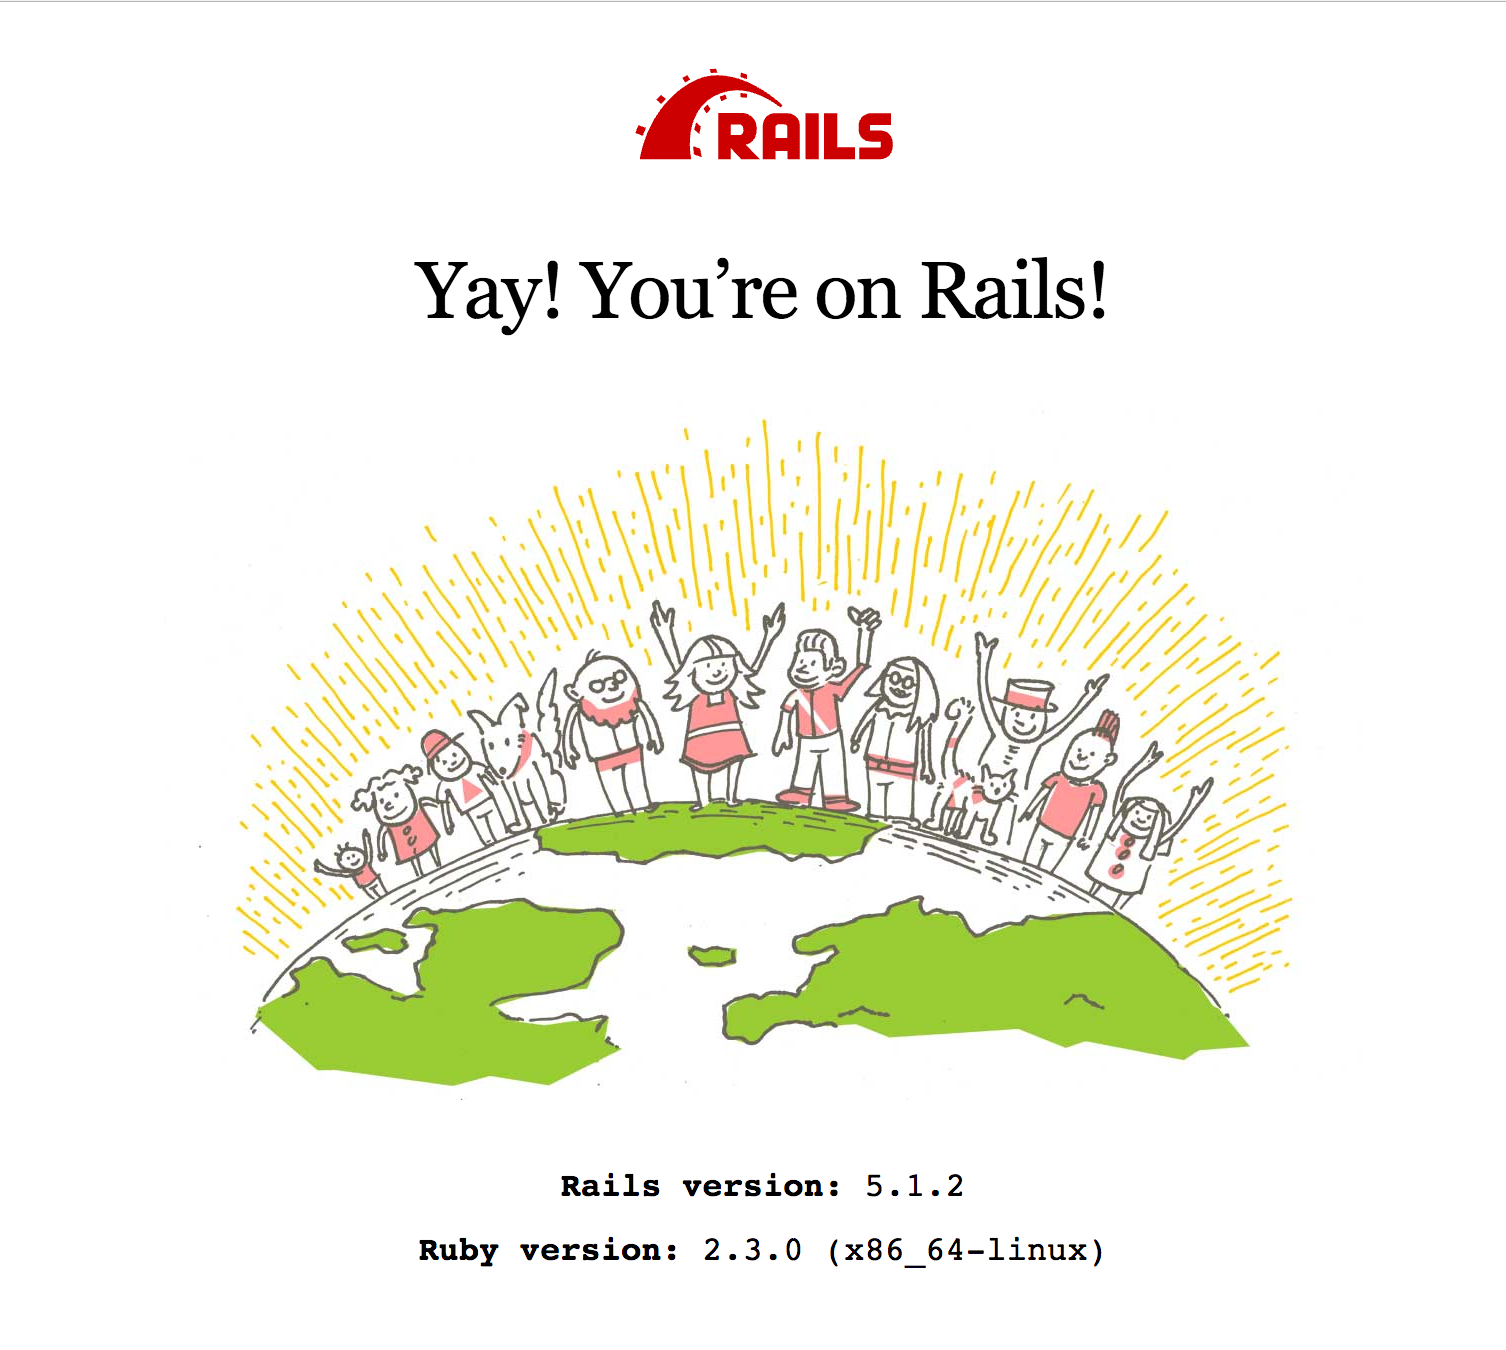
The Welcome Aboard Ruby page will be displayed
Keep in touch
Follow us on twitter
Sorcha Follow @sabel25
Rachelle Follow @RachelleOnRails
Rails Girls Brisbane Follow @railsgirlsbne
Read the Rails Girls Brisbane blog http://railsgirlsbne.com/
Email us: Rails Girls Brisbane
Join our Facebook Group: Rails Girls BNE Group